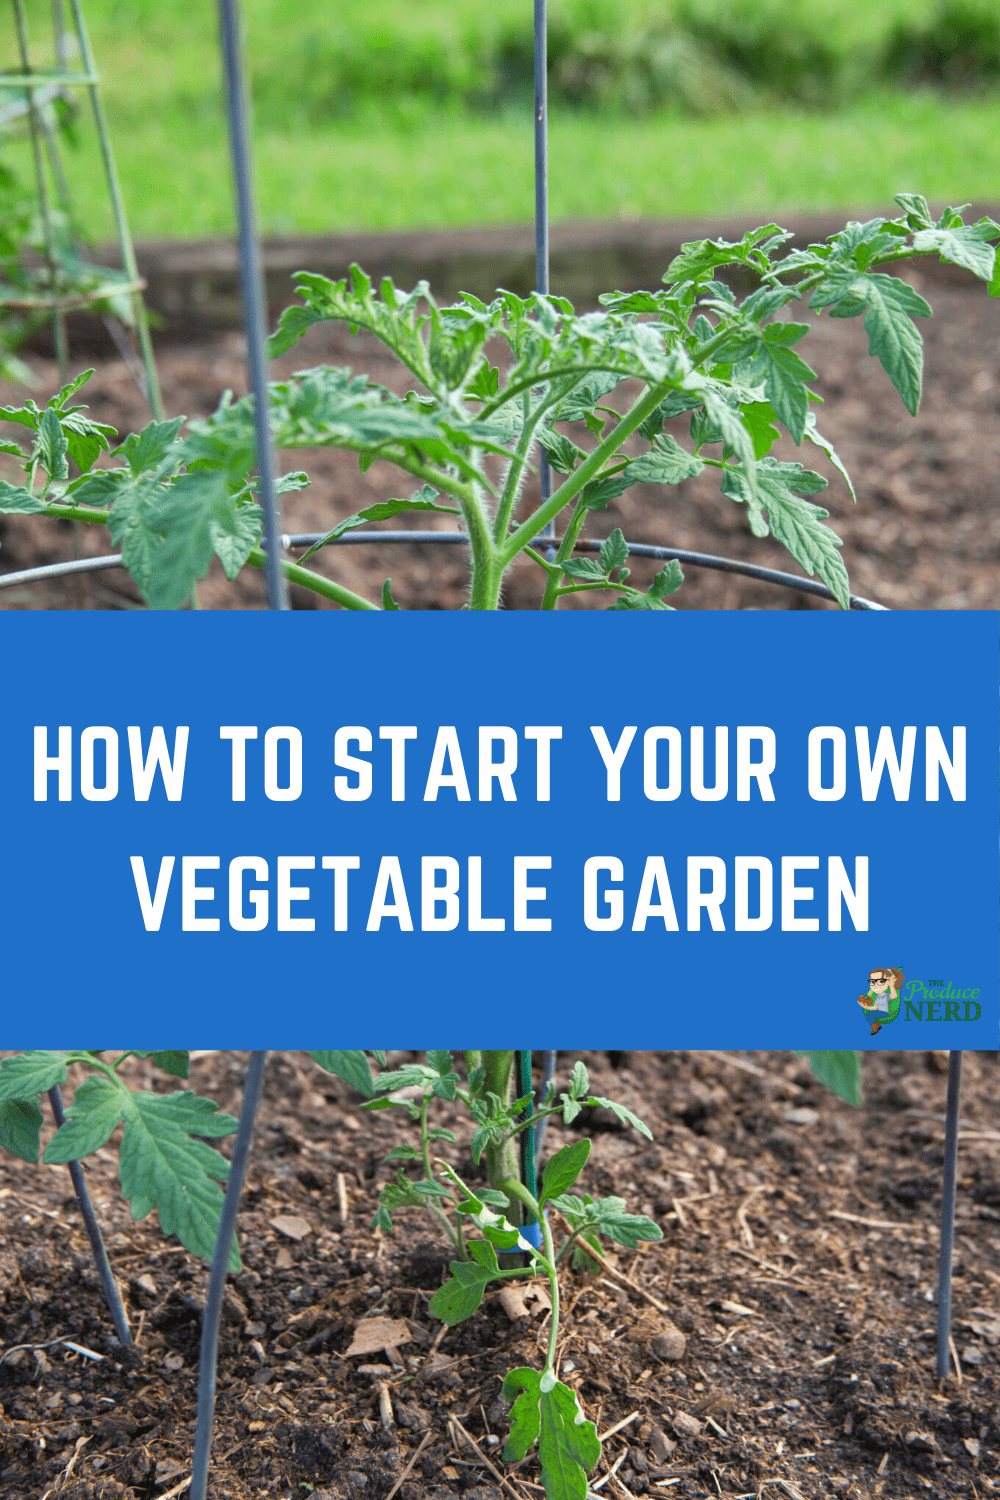
Summer is coming and there is only a short amount of time left to plant your summer gardens. For the past couple of years, my dad has been growing a summer garden (in planting zone 9b) that includes tomatoes, zucchini and yellow squash. He has a system down for how to plant, what soil to use, and where to place them in the yard.
I have outlined the steps he takes when planting below for those of you interested in planting your own gardens:
How to Start Your Own Vegetable Garden
- Dig the Holes – You want to make sure that you allow enough space between the different plants to allow the roots to grow and spread.
- Add Fertilizer – Pour in fertilizer to each hole (the specific amount will depend on the fertilizer used and what you are planting).
- Add Water – Water the hole until it is half full of water.
- Plant the Plant – Place the plant into the hole and surround it with soil.
- Build a Mound – Build a mound around the planted plant.
- Add Water – Water the section inside the mound.
The fertilizer is applied in step two as a band placement application, where the fertilizer is applied below the soil surface and underneath the established plant.
For tomatoes only, there is the extra step of placing the cage around the plant.
This year, my dad is trying a few new things, such as using two different types of potting soil, and planting tomatoes in two different spots to see if they grow differently. After we see if there are any differences in performance, we will be able to see if any adjustments need to be made for the next season. Depending on your setup at home, I suggest you do the same to test out the best way to plant and grow your desired vegetables.
I would encourage anyone who is interested in starting their own garden to give it a try. Another option, if you don’t have a lot of space for a garden, is to plant your plants in planters or small pots. This way, you will be able to eat fresh food from the garden and to share it with others.
If you liked this post, here are a few others you might enjoy:
